
ABOUT THE AUTHOR
Max Rose
Max Rose is the owner of Four Seasons Plumbing, a plumbing company in Asheville, North Carolina.
So, you’re considering replacing your bathroom sink yourself? Don’t sweat it! The good news is if you have intermediate handyman skills, Four Seasons Plumbing can walk you through the process. You’ll be saving yourself some money for what, in most cases, will only take an afternoon. And not to worry if you get in over your head.
We have trained, knowledgeable, courteous technicians at the ready for Plumbing Repairs, Kitchen & Bathroom Plumbing, Drain Clearing, and Emergency Plumbing Services. We’ve seen it all and are ready to tackle any issue that might arise.
We’re assuming that you will be replacing your sink in the same location using the existing plumbing for ease of understanding. We recommend calling Four Seasons Plumbing if you will be moving your sink to a different location or if you will be using a different style or size of sink altogether.
First, get your tools and supplies:
Having these ready to go before you start will save a lot of time once you begin the process.
SHUT OFF THE WATER! Look under your sink first to see if you have two knobs there. If so, turn both to the off position and give both the hot and cold water knobs at the sink a try to verify you have the water supply turned off.
Suppose you don’t have these knobs underneath. No worries. You’ll need to go out and turn off the main water supply for your home.
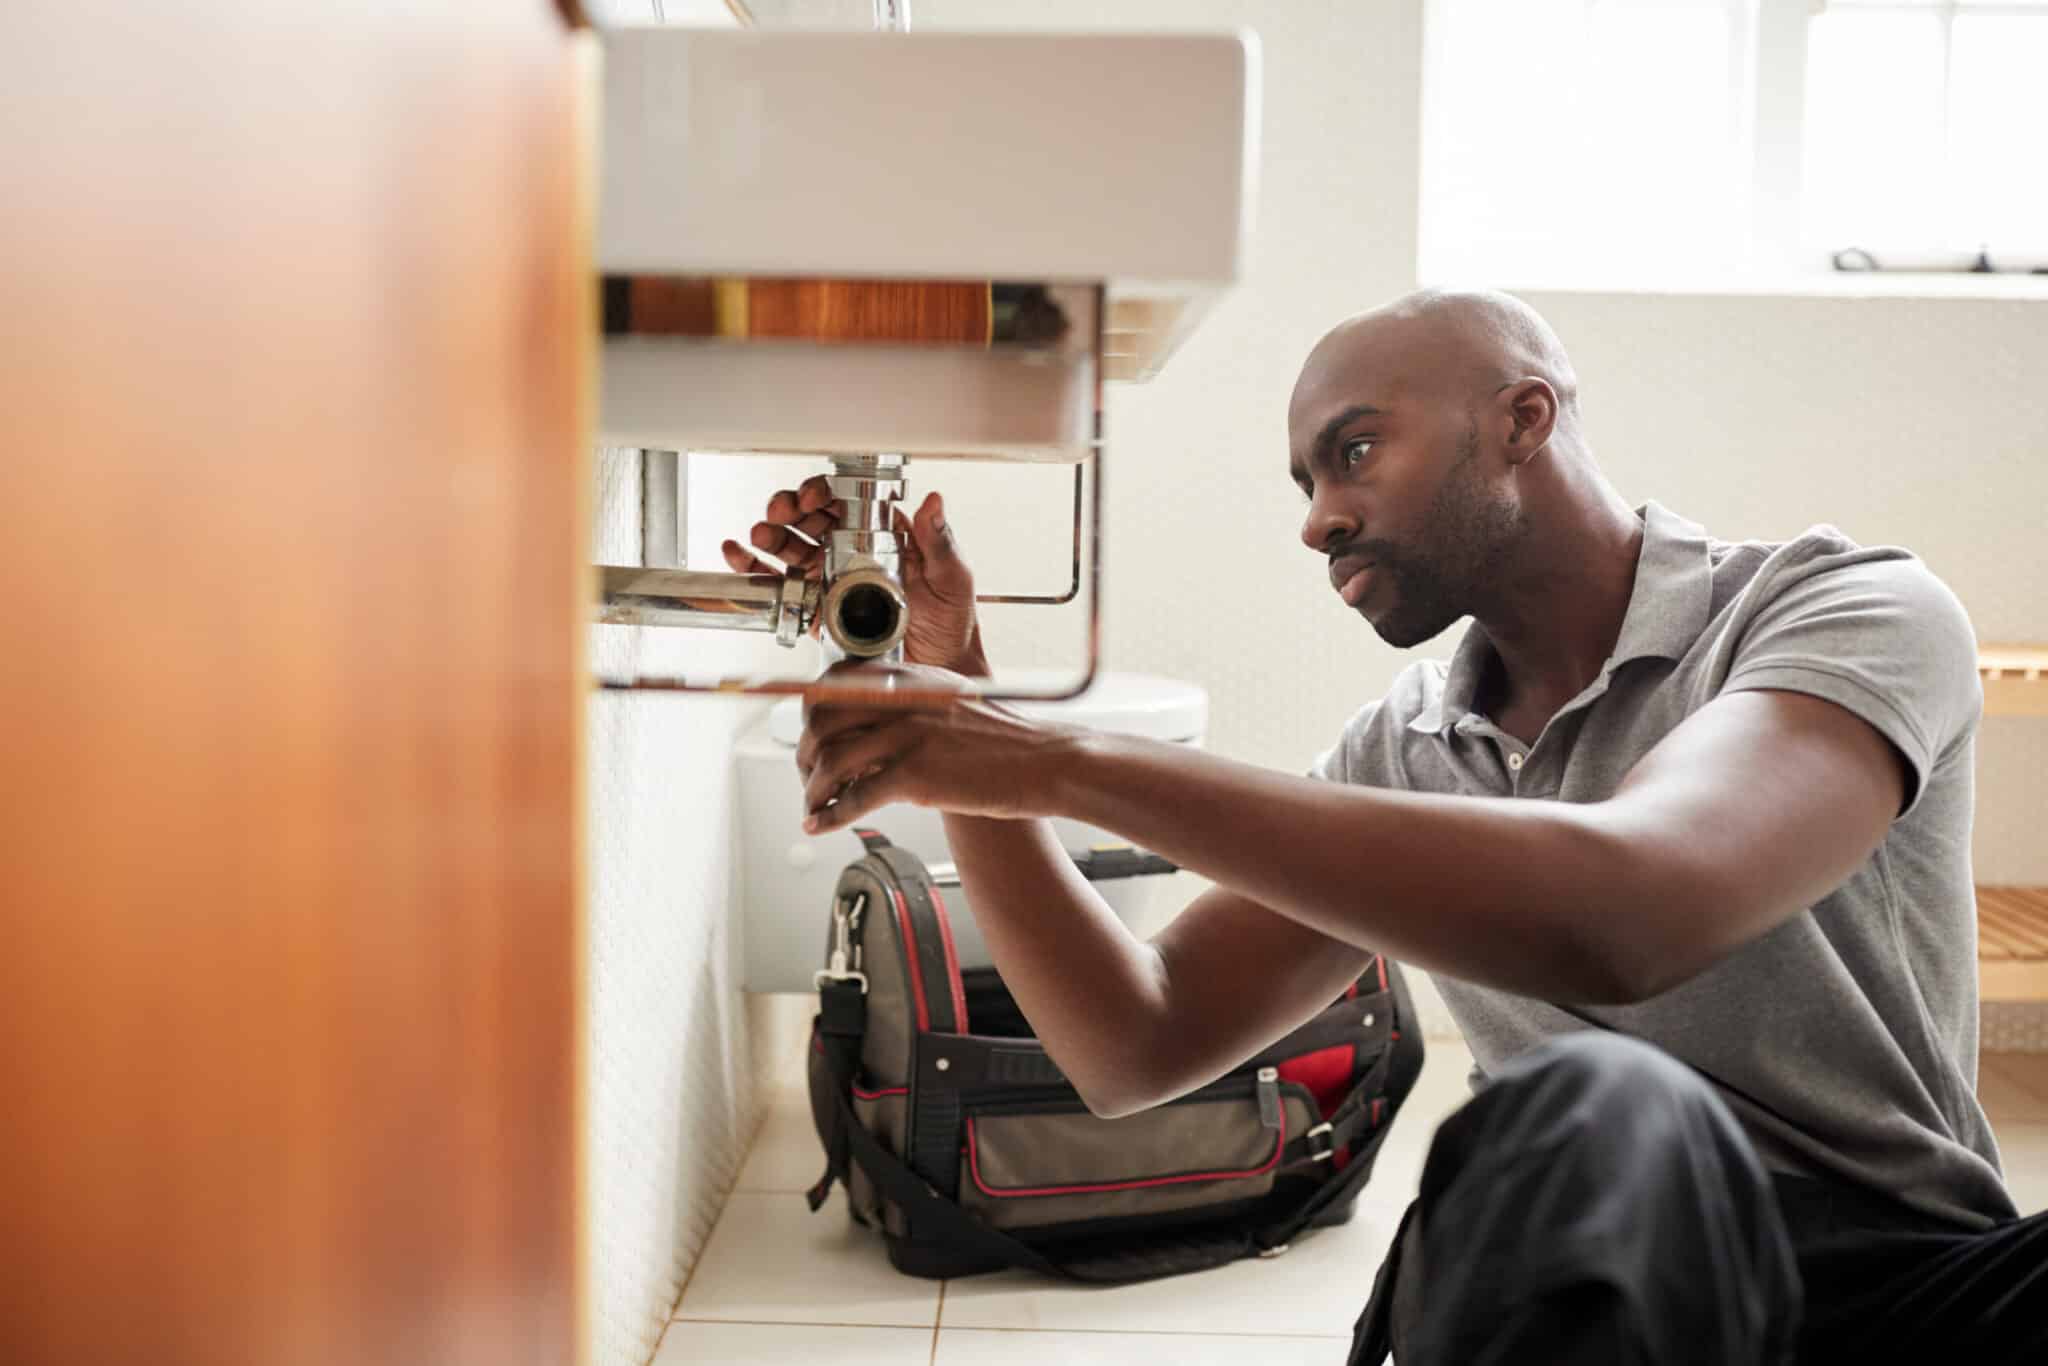
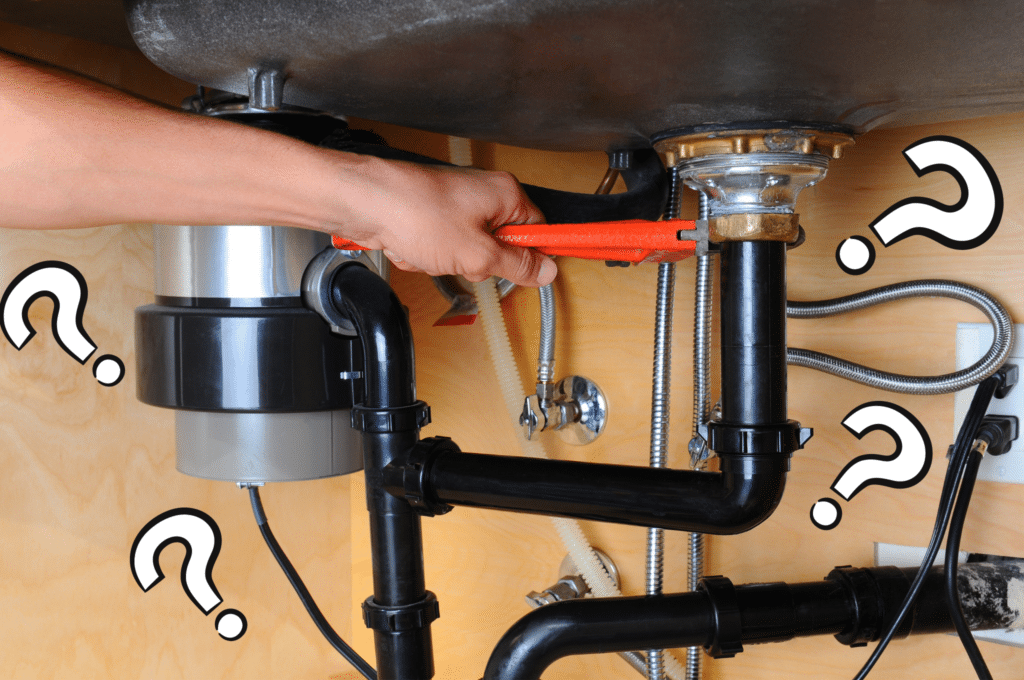
You’re ready to get that old sink out of the way. Just in case, place your bucket under the sink and any towels or rags to catch any dripping water. First, you’ll disconnect the drain and supply lines from the faucet using your pipe wrench or channel lock pliers. You’re also going to detach or loosen the P-trap (that big plastic or metal nut connecting the sink to the drain).
Once you do this, any water will run out into your bucket. If you have a vanity sink, you’ll need to unscrew the clips that connect the sink to the vanity using your power drill. If you have a pedestal, console, corner, or wall-mounted style, you’ll use your power drill to remove the bolts that hold your sink to the wall. Your old sink is now ready to remove.
Depending on your sink’s age or the installation method, you may need to loosen the caulk all around the edge of your sink with a putty knife to break the seal or, for tougher work, a chisel and hammer.
Now you’re set to install your faucet. If you are reusing the existing faucet, pay attention to how it came off so you know how to put it back the same way (a few pictures of your first time doing this will save a lot of grief). If you are installing a new faucet, you will follow the directions that came with your purchase before installing the new sink.
Now you’ll install the new sink. If you have a trough, drop-in, or vessel-type sink, you’ll lower it to the correct location on the counter. You’ll use your level to ensure a wall mount sink is straight and accurate before you screw the mounts back into the wall. And if you have an under mount style, you’ll be coming in from underneath.
If your sink came with a gasket, you would use that. If not, you’ll need to create a seal around the edge of the sink to prevent water from leaking by using silicone, caulk, or non-hardening plumber’s putty. After this, you’ll reconnect your P-trap and water lines with the same pliers or wrench you used to remove them.
Once you’ve verified that everything is reconnected and lined up correctly, you’ll use your caulk to go around the drain, making sure to wait at least 24 hours before use so the seal is appropriately set. And to ensure that you won’t have any leaks between the sink and the countertop, rima bead of caulk around the outer rim of the sink, and make sure you remove any excess before it dries.
Once you have reconnected, sealed everything, and given it adequate time to dry, you’ll need to test your work by turning your water back on. It’s best to have your bucket and towels in place for this step, just in case.
Now we know there are times when disaster can strike even when you have followed the directions to a tee, leaving your bathroom looking like one big puddle. Or maybe you’ve read through all of the steps and don’t feel as confident as you like. Four Seasons Plumbing Services is your emergency plumber in Asheville, NC.
Give us a call or schedule online, and one of our helpful associates will make an appointment for a knowledgeable, courteous Four Seasons Technician to change your sink and give you peace of mind confidently.
ABOUT THE AUTHOR
Max Rose is the owner of Four Seasons Plumbing, a plumbing company in Asheville, North Carolina.
Join Asheville's top-rated plumbing team. We offer stable work, competitive benefits, and a supportive, fun environment.
Explore Open Careers