
ABOUT THE AUTHOR
Max Rose
Max Rose is the owner of Four Seasons Plumbing, a plumbing company in Asheville, North Carolina.
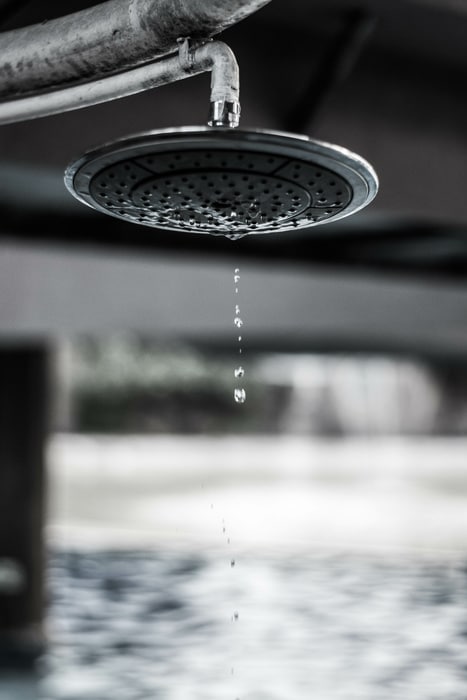
Slow leaking showers are not only annoying, but they can also rack up the water bills a surprising amount. Homeowners should take care of slow-leaking showers right away in order to prevent water damage and reduce utility bill costs.
If there is a noticeable amount of water dripping out from behind the showerhead or other places instead of through the showerhead spray holes, it should be examined and fixed. This is usually an easy fix and well worth it. In addition to increasing water bills, a leaking shower head can also stain a bathtub, depending on the water’s mineral contents.
Not to mention the sound of the constant water drips and plinks can be aggravating, especially throughout the night.
Fixing a slow leaking shower might involve a simple solution that homeowners can easily tackle themselves, including cleaning clogged spray holes in the showerhead, replacing defective rubber seals, or installing a new diverter valve or cartridge valve. These tasks can all be attempted to troubleshoot a slow-leaking shower before calling an Asheville plumber.
Before attempting to examine and fix shower head leaks, it is important to turn off the water. This can be done by simply turning off the shower knob. To be extra sure against unexpected spraying water, the bathroom shutoff valve can be turned off in addition to the shower knob.
Not all bathrooms have a shutoff valve in the bathroom itself, but one can usually be found near the shower or in the basement. If unsure where the bathroom water shutoff is located, the house’s main water line can be turned off.
After making sure the shower knob is turned off, inspect the showerhead spray holes for blockage or other damage. It may simply be time to replace the showerhead if it is old or beat up. Showerhead holes can become clogged over time from built-up mineral deposits.
Unscrew and remove the showerhead faceplate, or detach the entire shower head, then carefully examine the spray holes for mineral deposit buildup that could be blocking the holes. If unsure how to detach the faceplate or showerhead, consult the instruction manual. It should not be too difficult; unscrewing the screws surrounding the showerhead should be all that is necessary in order to remove it.
If mineral deposit buildup is discovered, a solution of white vinegar and salt should do the trick. Grab a household container that will be large enough to fully submerge the showerhead. The bathroom sink could also be utilized for this if it can be out of commission for a few hours. Completely immerse the faceplate or entire shower head in white vinegar and coarse salt for about eight hours.
Eight hours should be a sufficient amount of time for the vinegar to dissolve the mineral deposits. After eight hours, inspect the showerhead pieces. Any remaining buildup can be manually removed with small tools such as a toothpick or nail. Next, thoroughly scrub the faceplate with a stiff plastic brush. An air compressor can also be used in a gentle setting to blow out debris.
Now the showerhead should be clean and clear of blockage. Test it by reattaching all the pieces, turning the water valves back on, and running the shower. Hopefully, there will be no more noticeable leaks. If it is still leaking, there are a few more things to check. The professional plumbers in Asheville are here to help you. Call us today!
Washers and O-rings can harden or split over time, which causes water leaks. They are in place to form watertight seals between connectors on showerheads. Rubber seals should be regularly lubricated to help them last longer. Showerheads with swivel connections typically need washers and O-rings to be replaced often since they undertake more wear and tear.
There are multiple ways to narrow down which rubber seal is the culprit of a leaking shower. Once the leak is found, take the old washer or O-ring along to the hardware store to ensure that the correct replacement size is purchased.
Remember to turn off the water before disassembling the shower pieces to inspect the washers and O-rings. If the rubber is worn or cracked, it is due for replacement. Old seals will allow water to seep through, which could be the cause of the showerhead leak.
If the shower has two different handles that control the hot and cold water separately (known as compression or two-handle faucet), feel the temperature of the dripping water to determine if the leak is originating from the cold water valve or hot water valve. Since the work is already being put in to replace one, it would be prudent to go ahead and replace both. Unscrew the faucet handle to completely remove it and locate the rubber washer.
There are different styles of faucets; if the screw is not in plain sight, search for it under a cover cap by lifting it with a pocket knife or other tool. The faucet should be able to be removed by hand. If it is too difficult at first, keep loosening the screws. Be careful against losing track of where each screw belongs.
If the shower has a single-hand faucet, the rubber washer inside of the showerhead is likely the culprit. When using a wrench to help loosen and disassemble the showerhead, protect fixtures with a rag before using the wrench. The rubber washer will be found beneath the swivel ball, which is what allows the showerhead to move. Be sure to replace the washer or O-ring with the exact same size.
Once the cracked or worn rubber seals are replaced, reassemble the showerhead and faucets. Turn the water supply back on, then test the running shower to check if the leak is fixed.
A malfunctioning diverter valve is a less commonly known cause of a leaking showerhead. This device is responsible for switching the water supply from the bathroom faucet to the showerhead. The valve can weaken or become clogged. The best way to fix a malfunctioning diverter valve is usually to replace the whole device.
Turn off the bathroom’s water supply, then expose the diverter valve by removing the faucet handle, which was explained above. A clogged diverter valve could be hard to remove because of the sediment buildup. If this is the case, use WD-40 or a rag soaked in vinegar to clean it before attempting to unscrew it again.
As mentioned, the diverter valve will most likely need to be replaced. However, cleaning it may also solve the problem. Scrub it with a small stiff wire brush and white vinegar. If the valve has visible damage or cracks, cleaning it will not be sufficient.
Return the cleaned or brand-new diverter valve, reassemble the faucet handle, turn the water supply back on, and test the shower.
The cartridge valve is a little more difficult to replace. As with the diverter valve, the cartridge valve is located behind the faucet.
Turn off the water supply, then remove the faucet handle to expose the cartridge stem. If the handle is difficult to remove, warming it with a hairdryer should help it loosen. Once the handle is removed, the decorative faceplate and cap that covers the valve body stem should also be taken off.
Slide the stem cover off which will then expose the end of the plastic cartridge. The cartridge is secured with a nut or a clip that needs to be taken off before the stem of the cartridge can be grabbed with pliers and pulled out.
Bring the old cartridge to the hardware store to help find the correct replacement part. Put everything back together, then turn on the shower water and inspect for leaks.
If the shower is still leaking after attempting all of these tasks, it may be time to contact a local plumber in Asheville, NC. Their expertise will surely locate and solve the problem causing a slow-leaking shower
ABOUT THE AUTHOR
Max Rose is the owner of Four Seasons Plumbing, a plumbing company in Asheville, North Carolina.
Join Asheville's top-rated plumbing team. We offer stable work, competitive benefits, and a supportive, fun environment.
Explore Open Careers